Indian One Pot Wonder: Kee Khitcheree

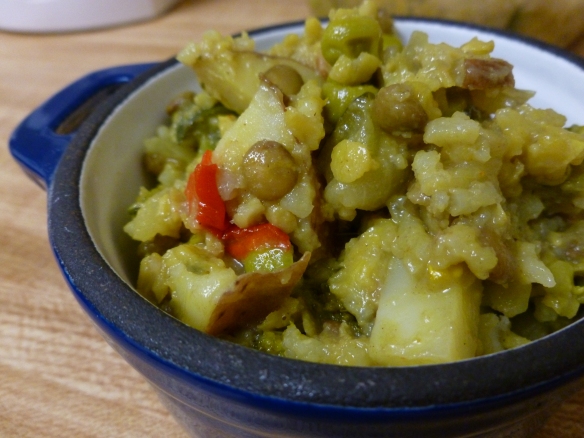
This aromatic Kee Khitcheree is made with a combination of yellow mung bean (yellow split peas), rice, and lentils (my favorite legume). If you’re looking for an easy Indian dish, this is it. There are a number of optional exotic ingredients, but with a few key spices you can make an outstanding Kee Khitcheree.

Feel free to experiment with your favorite veggies and the water proportions. I generally prefer a thicker, porridge consistency version of this dish, but you can add more water to make it more soup like, as featured in this Huffington Post recipe for Birbal Kitcheree.

The second best part: You only need one (very large) pot! And, most of the core ingredients used here are not too exotic- you should be able to find most of them in your local grocery store (or your pantry!). This recipe is a great way to dip your toe into Indian cuisine.The best part: the first bite of this flavorful, healthy dish chock full of veggies and spices.

Kitcheree Yum!

Indian One Pot Wonder: Kee Khitcheree

Time: 50 minutes, 20 minutes prep, 30 minutes cook
Servings: 6-8

Ingredients

1 1/2 cup split yellow mung beans (moong dal), picked over, rinsed and drained (you can also use yellow split peas)
1 1/2 cup lentils, picked over, rinsed and drained
1 cup basmati or jasmine rice

1/4 cup ghee, butter or canola oil
dried whole chilies or chili flakes, to tasteKee Khitcheree Spices
2 tsp cumin seeds
3-4 bay leaves
8-12 whole cloves
6-10 black peppercorns
1/2 tablespoon turmeric (more if desired)
1/8 tsp asafetida (optional)More Kitcheree Spices (alternatively spelled Asafoetida)
1/2 tsp freshly ground black pepper
2 tsp garam masala

2 medium onions, sliced into short thick pieces
5-8 cloves garlic, chopped
1 jalapeno, diced (seeded if desired)
3-4 red potatoes, washed, diced into small chunks (optional)
1 medium zucchini or squash, diced (optional)
1 green or red bell pepper, diced (optional)
1 broccoli stalk, sliced (optional)
Broccoli florets, chopped (optional)

6-8 cups water
1 tsp garam masala

Salt to taste when serving

Special Tools: Food processor (optional), Large stock pot with a lid

What To Do

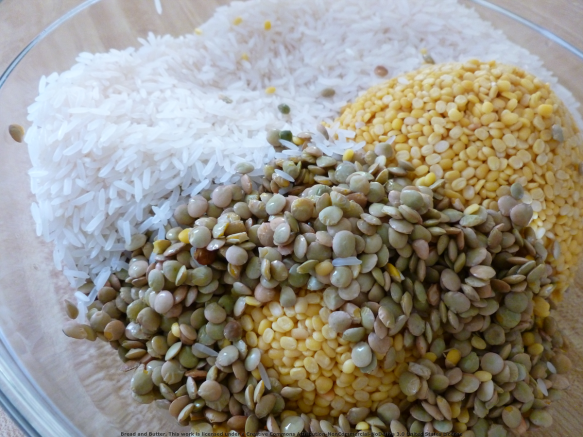
Soak the beans, lentils and rice in a medium bowl in cold water for twenty minutes (they should be covered with water). Drain off the water and set off to the side.

The Trifecta: Rice Lentils & Mung Beans

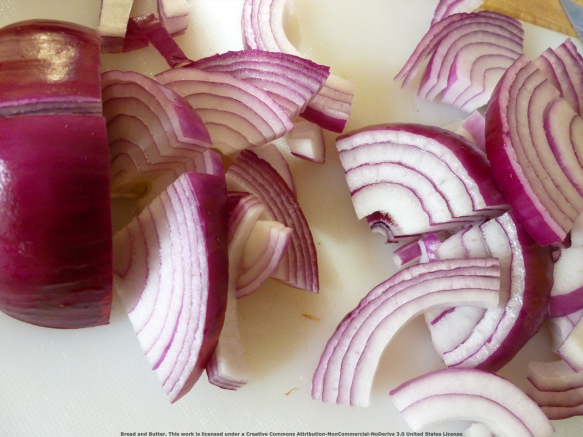
While this is soaking, prepare the veggies. You can chop off some prep time by using a food processor to slice the veggies (see what I did there? haha). Quarter the onion, then chop into thick slices- as below.

Kitcheree Onions

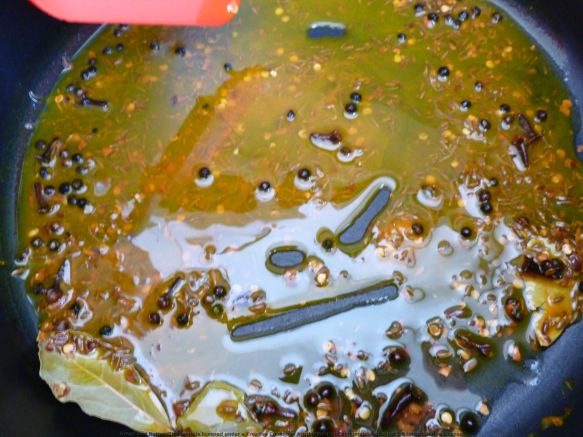
In a large stock pot, heat the oil, chili flakes (no dried chilis in my apartment!), cumin seeds, bay leaves, cloves, peppercorns, turmeric, garam masala and asafetida (optional) over medium heat.
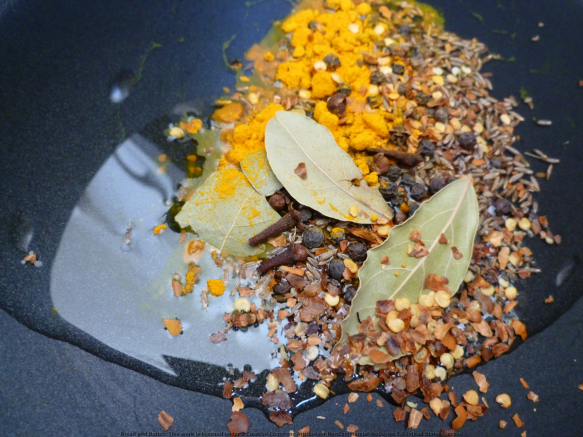
Kitcheree Spice in the Pot

Mix to distribute evenly and cook for a couple minutes.

Goopy Spice Mixture- Kitcheree

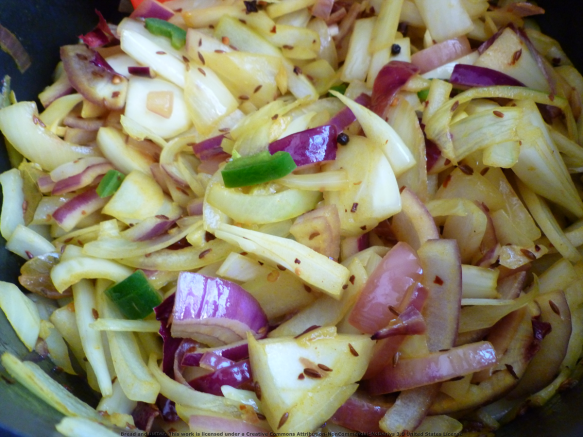
Add the prepared veggies and stir with a heavy spoon to coat with the spice mixture. Place the lid on the pot and cook for 5 minutes, stirring occasionally.
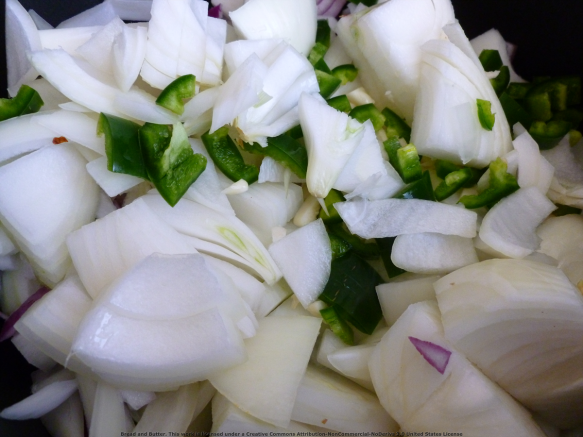
Veggies Ahoy!

The first time I made this with onions, broccoli stalk and jalapenos, and the second time with onions, zucchini, potatoes, garlic and bell pepper. Both were very good! Experiment to see what combinations you like the best.

Stir it up baby!

Scoop in the lentils, mung beans and rice to the veggie medley and mix with your heavy spoon.Add the Lentils, Rice and Mung Beanz
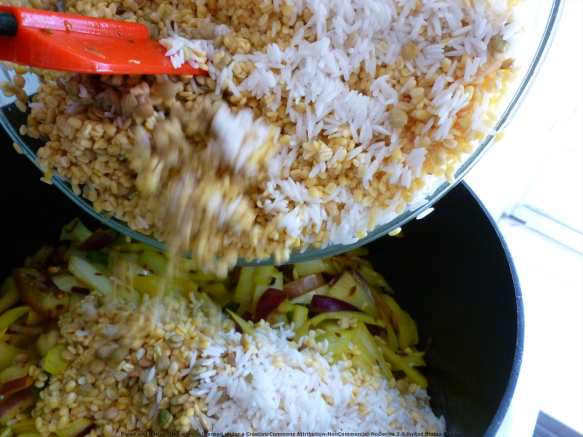
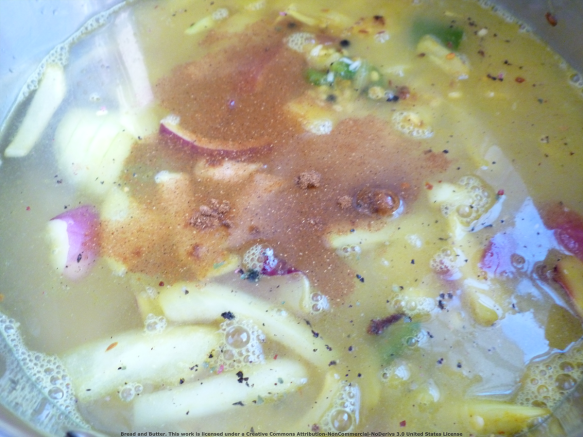
Turn up the heat to high, pour in the water (6 cups for thicker porridge consistency and 7-8 cups for a soup-like consistency) and 1 tsp garam masala and slowly stir to combine. Cover with the lid until the khitcheere begins to boil, then turn down the heat to low.

Kitcheree Water and Garam Masala

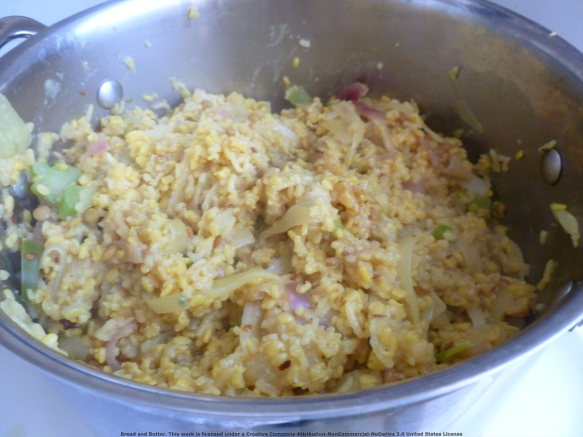
Simmer for twenty minutes or so, stirring occasionally, until the lentils and rice are tender and the mung beans are chewy (they will be firmer than the lentils and rice). For a thicker, porridge-like consistency, let the khitcheree simmer until the water is completely absorbed but the mixture is still moist.

Kee Khitcheree- Ready to Eat!

Add salt if desired or with each individual portion. Serve hot with pickled jalapenos or chutney and naan or pita bread.

Serpentine Squash Farmer’s Market Adventure

I got this squash a couple of years ago from our local farmer’s market. I had great fun playing with my food before eating it, as you can see from the pictures below.

I found these while cleaning out my computer hard drive and thought I would share these gems with you!

Do not Disturb the Squash

zucchetta rampicante

I got those flowers from the farmer’s market too! There is a vendor that sells milk in those jugs. And roll butter.

Why hello there

You can see why it’s called the ‘serpent’ squash.

I don’t remember how we prepared the squash, probably a stir fry. I seem to remember that the skin was much tougher and thicker than zucchini or yellow squash. More like an acorn squash.

This article has a pretty good recipe for preparing the serpentine squash.

And this guy has a more presentable version:

Serpentine Squash

I’ll be venturing out to the farmer’s market again this weekend. Treasure awaits!

Rustic Cornmeal & Roasted Vegetable Tart

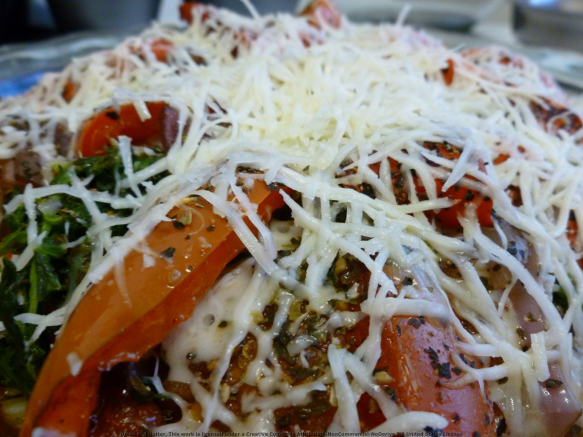
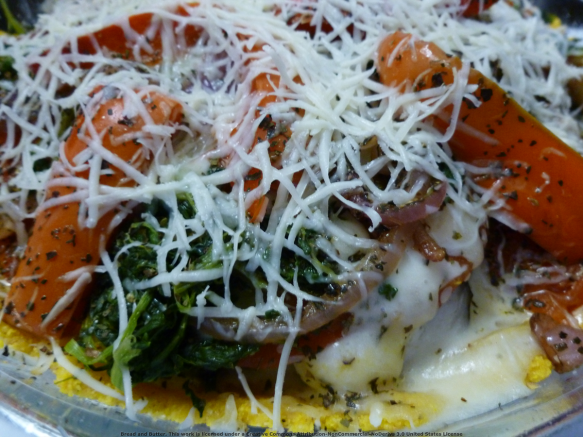
Pack in the veggies for your next meal with this tasty Roasted Vegetable Tart served in a crispy cornmeal crust.

I made this dish for a potluck at a friend’s house, and I am happy to tell you that this compact dish travels well and can be prepared ahead of time and reheated at your final destination.

Vegetable Tart in Cornmeal Crust

Vegetable Tart with Cornmeal Crust

Adapted from The Food You Crave by Ellie Krieger.

Time: 80 minutes, 20 min prep & 60 min cook
Servings: 8 wedges

Ingredients

Crust
2/3 cup yellow cornmeal
1/2 cup whole grain flour or wheat flour
1/4 tsp salt
2 tbsp plain low-fat yogurt
2 tbsp canola or vegetable oil
3-5 tbsp water

Veggie Filling
2 tbsp + 1 tsp extra virgin olive oil (EVOO)
1/3 cup thinly sliced red onion (or shallots, about 2)
3-4 garlic cloves, thinly sliced (or more if desired)
Assorted sliced vegetables (about 1/8 inch thick)
– Eggplant
– Zucchini
– Yellow Squash
– Ripe tomatoes
– Fresh (preferred) or frozen spinach, thawed and drained
1/4 tsp salt
1/4 tsp freshly ground black pepper
Dried Oregano (optional)

3/4 cup shredded part-skim mozzarella cheese (approx. 3 oz.)
1/4 cup shredded  or ripped fresh basil (or 2-3 heaping tablespoons dried basil)
1/4 cup grated Parmesan or Pecorino Romano cheese

Non-stick spray
Aluminum foil and uncooked rice/beans/lentils or pie weights

Special Tools: Food processor, 9 inch tart pan (or pie plate), pie weights (optional), parchment paper (optional)

What To Do

Preheat the oven to 350 F.

Crust:
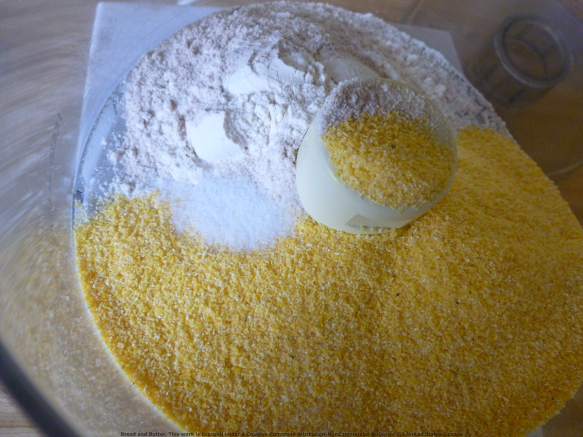
In the food processor, pulse the cornmeal, flour and salt until mixed.

Tart- Dry Ingredients in Food Processor

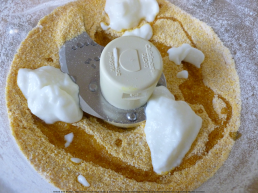
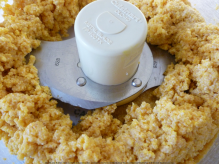
Pour in the yogurt and oil and pulse 15-20 times. The mixture should resemble tiny pebbles.

Tart- Yogurt & Oil          Tart- Pulsing the Dough

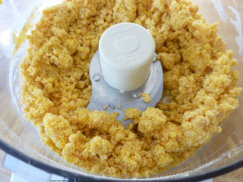
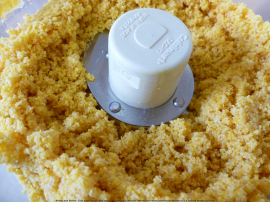
Add a couple tablespoons of water and pulse again until the cornmeal mix starts to come together in a dough. If it looks too dry, add more water, 1 tbsp at a time and pulse after each addition.

Tart- Pulsing 2          Tart- Pulsing 3

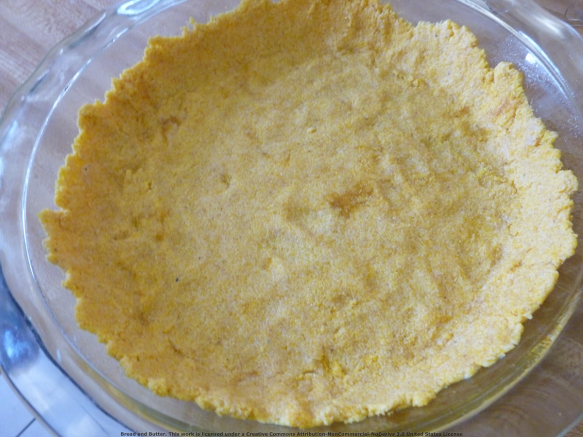
Spray a tart pan or pie plate with non-stick spray. Take the dough out of the food processor and press with your fingertips into the tart pan or pie plate. Be sure to cover the sides of the tart/pie plate as well.

Tart Pan Dough
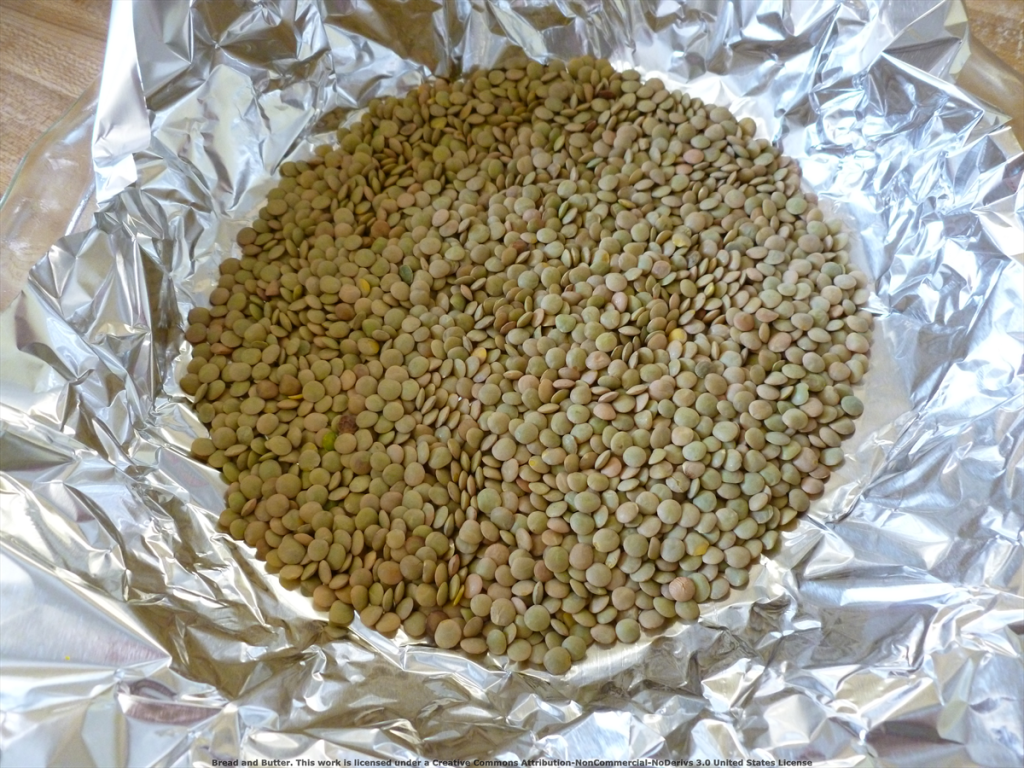
Cut a piece of aluminum foil large enough to cover the tart/pie plate and press against the bottom and sides of the crust. Pour enough uncooked rice/beans/lentils (or use pie weights) to weigh the crust down, about 1 1/2-2 cups.

The crust is well protected from alien mind probes...

Place the tart on a baking sheet and bake for 10-12 minutes. Remove the pie weights and cook for another 5-6 minutes. Remove the tart crust from the oven and cool.

Increase the temperature to 400 F.

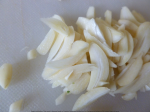
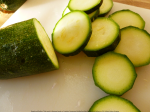
Sliced OnionsSliced GarlicSliced Zucchini

Veggie Filling:
Sautee the garlic and onions or scallions in 1 tsp EVOO over medium heat. Cook for 6 minutes, stirring occasionally. Remove from the heat when the onions are soft.

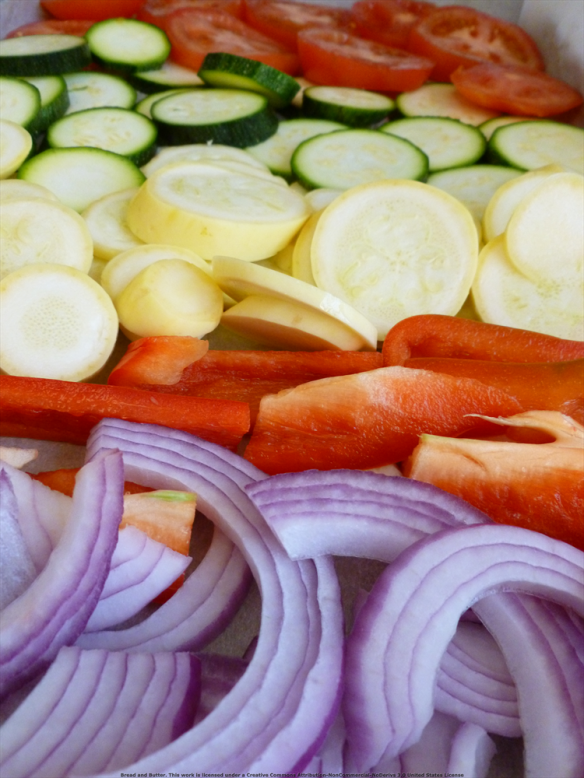
Put some of the sliced veggies into a plastic resealable bag. Pour about 1 tablespoon of the EVOO into the bag, seal, and shake to coat the veggies with the oil. Spread the sliced veggies on two prepared baking sheets (coated with non-stick spray or lined with parchment paper for easy clean up). Repeat with the rest of the veggies until all are coated with oil and spread on the pans.

Veggies on the Pan

Sprinkle the salt &  pepper on top. Roast for around 20 minutes, until the veggies are tender but not burned. Cool the veggies enough to handle.

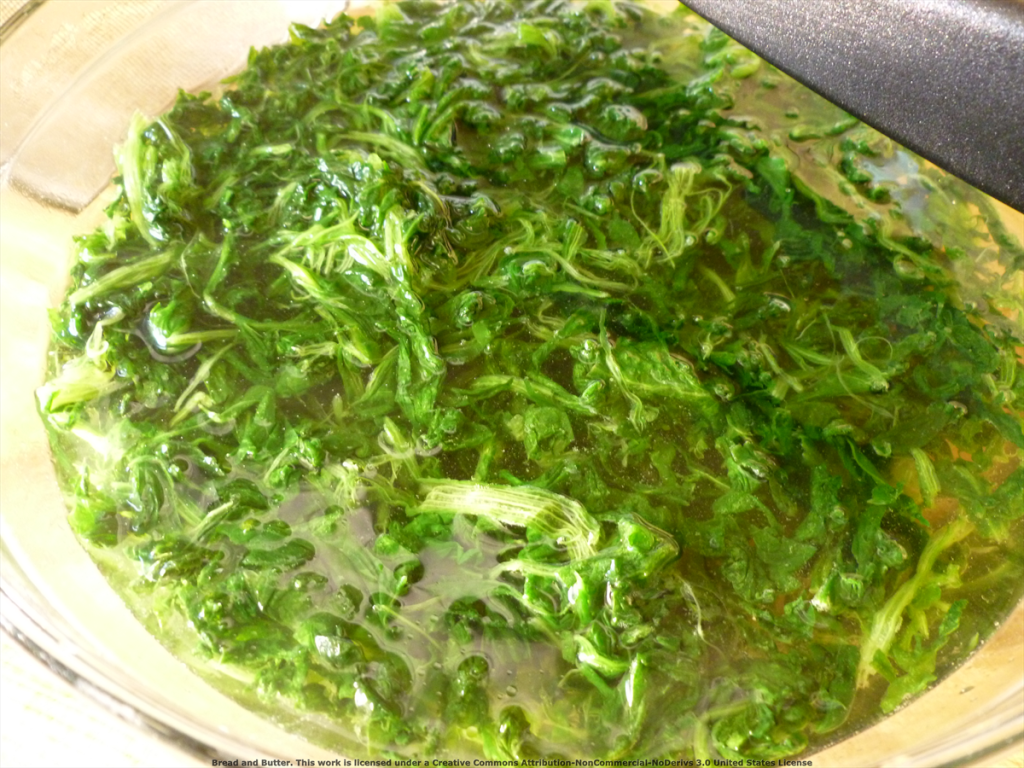
Thawing Spinach AKA Swamp Monster

If you are using frozen spinach, you’ll need to thaw it while the veggies are roasting. Place the frozen spinach in a large bowl and cover with hot, just below boiling, water. Let  it sit, stirring occasionally to break it apart into pieces. As the water cools down, drain off and replace with hot water. When the spinach has thawed completely, drain in with a fine mesh colander and set aside for the tart assembly.

Note: I made this dish with frozen spinach the first time, and I would recommend using fresh baby spinach instead. The frozen spinach was a bit tougher and harder to handle.

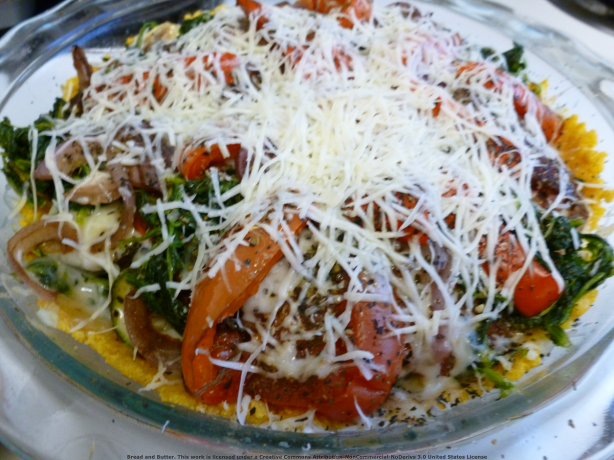
Decrease the temperature to 350 F. Put a layer of the roasted veggies into the bottom of the tart crust, then sprinkle with the mozzarella (1/4 to 1/3 of the total) and fresh basil. Lightly sprinkle on the dried oregano if using. Repeat the layering process until the veggies are gone, ending with the tomatoes or pepper arranged in a visually pleasing manner. Sprinkle freshly grated Parmesan or Pecorino Romano cheese on top.

Veggie Tart Assembly

Bake the tart for around 30 minutes until the cheese is melted and the vegetables have warmed all the way through.

Cool for a couple minutes, then slice into 8-10 pieces. Serve warm, with additional grated cheese if desired (yes, please!).

Hot Veggie Tart!

Adventures in Food #3: How to Explore A New Cuisine

In my last Adventures in Food post, I mentioned that Tumeric and Garam Masala were my first Indian spice purchases that were new to me. Now, I’m going tell you how to break into a new cuisine– you know, the food you love to eat in restaurants but think its too difficult to make at home.

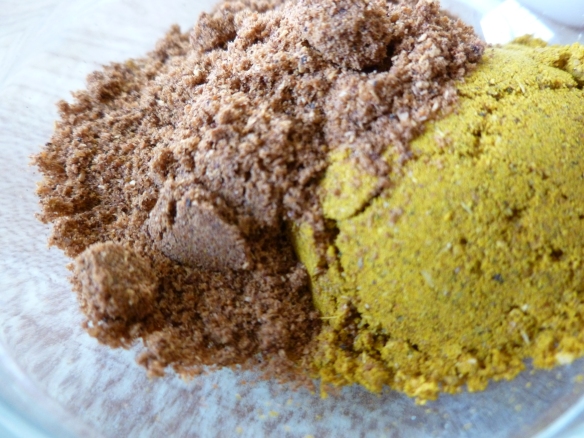
Curry & Garam Masala

I really like Indian food, and after flipping through a few Indian cookbooks it seemed to me that Garam Masala & Tumeric were two of the core Indian spices (though of course this varies by region but we’re talking basic here). I already had and use ground cumin, so no need to purchase anything new there.

After deciding that I would make some sort of tumericgaram masala chicken dish, I began looking for Indian or specialty stores that would carry tumeric and garam masala at a reasonable price. My search ended with at a local Indo-American Convenience Store (the same location where I purchased the infamous naughty tomatoes). Happily, this was very close to a friend’s house so I knew the area quite well.

My first visit was a little intimidating– most of the items are in another language and look unfamiliar. To acclimate myself to these foreign treasures, I took a slow walk around the store, starting in the rice and packaged foods, then onto refrigerated items, and then finally ending up in the spice and legume aisle.I planned to purchase a package of Garam Masala and tumeric, but I was distracted by the rainbow of lentil varieties: Oily, split, yellow, red. I indulged my desires and picked up the 2 pound split red lentil variety. On a later trip, I purchased split yellow mung beans in an effort to branch out of my ‘rut’.

Moving on to the wall of spices, I allowed myself to get lost in the smells and names. Aamchur (sour mango powder). Choti Elaichi (Green cardamom). Ajwain (Thyme Seed). Asafoetida.Jaiphal (Nutmeg). Even spices I know and love took on an unfamiliar air with their imported packaging and Hindi names– and that is one of the bigger hurdles to overcome when venturing into a new cuisine: the vocabulary. Many of the Indian cookbooks I checked out from the library were “Intro” books, which was great because they contained copies explanations and definitions, often with a glossary of terms and substitution notations in case the ingredients are unavailable where you are. My advice to you is just to read as much as you can about your new cuisine to acclimate yourself to the core flavors, cooking methods and techniques.

When you finally bring your pile of treasures to the cashier, be sure to chat them up to find out how they use the items you’re purchasing. The gentleman who rang up my mung beans told me that he likes to eat them plain, after they’ve been pan toasted. I’m looking forward to trying that!

Here’s a quick summary of how to ease into a new cuisine without breaking the bank or your sanity:

1. Go to your local library and peruse the books on the cuisine you’d like to explore. If they don’t have any on the shelf, use their online catalog or ask your reference librarian to help you find cookbooks for that region.

2. Read those books! Flip through the books you found and mark any recipes that look tasty. Then, go back through the recipes you marked and review their ingredients and special cooking materials.

3. I would recommend selecting recipes that only use 1-2 core ingredients that you don’t already have on hand (assuming that you have a decently stocked pantry with your native spices & ingredients). Good beginner/intro to cuisine cookbooks will note where an ingredient is not essential or a replacement that is likely to be found in your country. Or, search the web for a conversion table like this one for Indian spices. In addition, keep an eye out for notes like: advanced, hard, 1-2 hours, etc. You want to start off with something relatively easy while you’re still learning.

4. Focus on recipes that use cooking instruments you already own, or get creative about ways to use what you have for the purposes described. E.g. a deep frying pan instead of a wok.

There you have it– the Bread and Butter Method to Exploring a New Cuisine (without breaking the bank or losing your sanity).

Let me know how it works for you! Share your experiences below.

Focaccia Scones

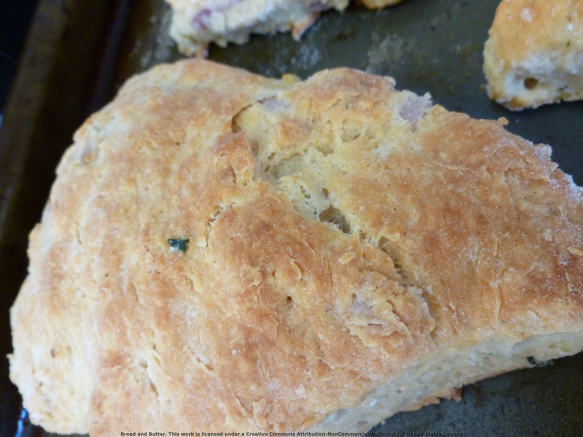
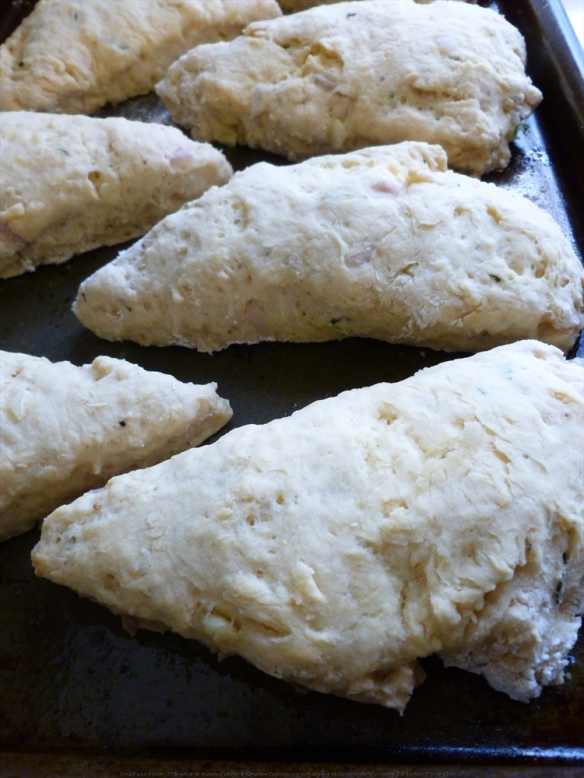
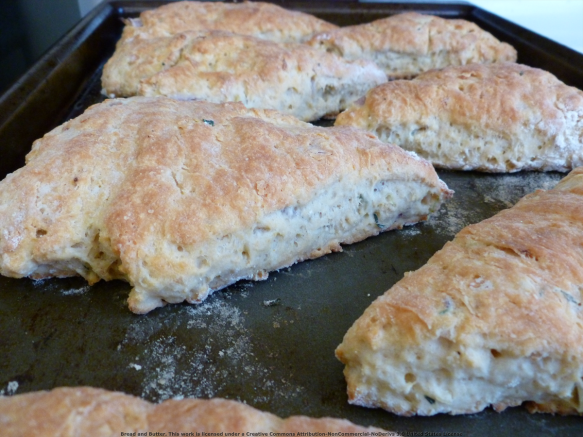
These scones are bites of flaky heaven– garlic, onion and rosemary sauteed until fragrant, brushed with olive oil and baked until golden. I am a huge fan of quick breads that you can mix up in under twenty minutes and these scone-biscuit hybrids definitely fit the bill. They’re easy enough for everyday eating and fancy enough for company.

These seem to be the best when eaten on the same day they’re made, so if you’re making these for a party I would make these ahead of time through the dough step or the pan step and just pop them in the oven about 25 minutes from mealtime.

Tasty Flaky Scones

Focaccia Scones

Adapted from Moosewood Restaurant New Classics

Time: 30 minutes, 10 min prep, 20 min cook
Servings: 6-8 Scones

Ingredients

2-1/2 tbsp Extra Virgin Olive Oil (EVOO)
2-5 garlic cloves, crushed then minced
1/4-1/2 onion, preferably red, finely diced
1 tsp freshly ground black pepper
1-2 tbsp chopped fresh rosemary (1-2 tsp dried)
2 cups unbleached white flour
2 tsp baking powder
1/2 tsp salt
1/2 tsp baking soda
2 tbsp low-fat plain yogurt (or cold butter)
3/4 to 1 cup low-fat plain yogurt (or buttermilk)

Olive oil (for brushing)
Sea salt flakes (optional)

Special Tools: None!

What To Do

Set the oven to 425 degrees Fahrenheit. Spray a baking sheet with non-stick spray.

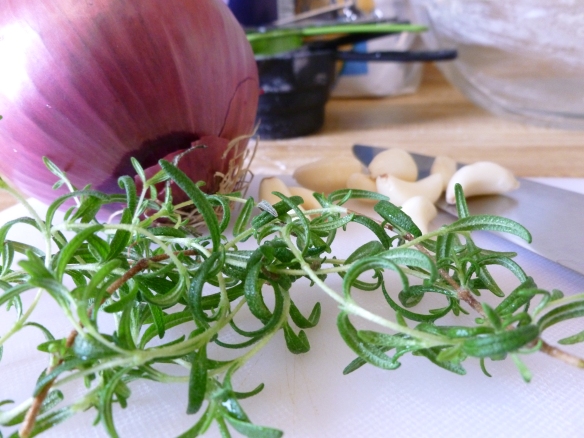
Rosemary, Onion & Garlic

Crush the garlic with the flat side of your knife, and then chop. A Chef’s knife works best for this. Next, dice the onion. You can omit the onion if you like.

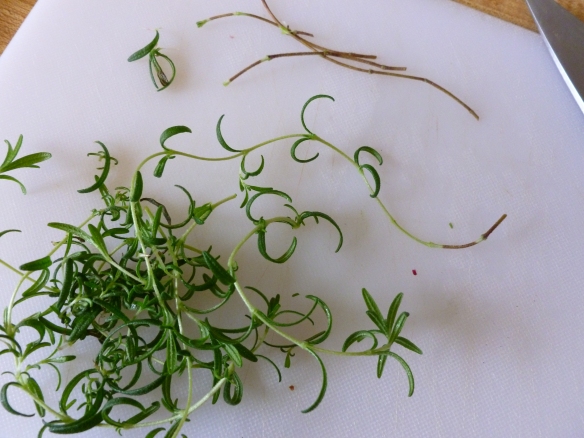
Mincing Rosemary, the Easy Way

To mince the rosemary, separate the stems into the younger, tender stems (green or whitish-green- bottom left) and the older stalks (brown, woody-looking- top right). You can mince the green rosemary springs right on the stalk, but you’ll want to remove the rosemary leaves from the woodier stems before mincing.

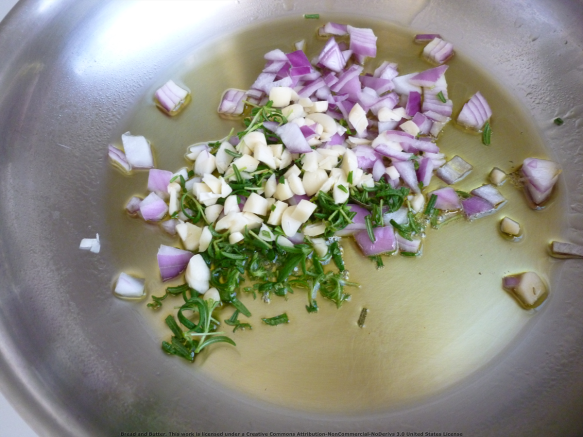
Onions Garlic & Rosemary

Heat the oil in a frying pan, and toss in the garlic, rosemary and onion. If you prefer very well done onions, cook the onions for a couple minutes prior to adding in the garlic and rosemary.

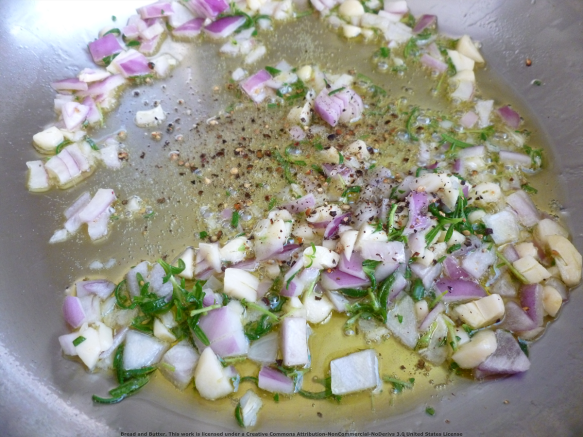
Add the fresh ground black pepper

Grind some black pepper into the pan and cook the ingredients for 60 seconds and then remove from the burner.

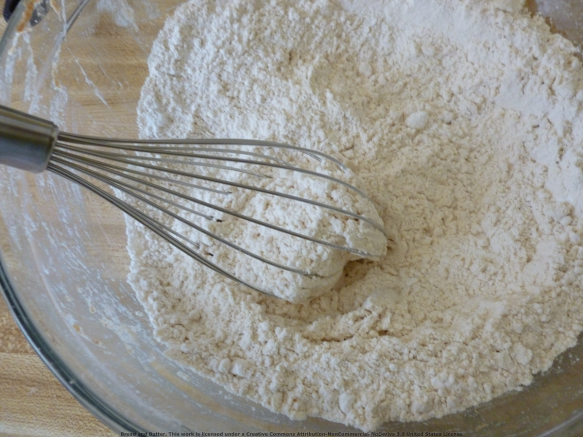
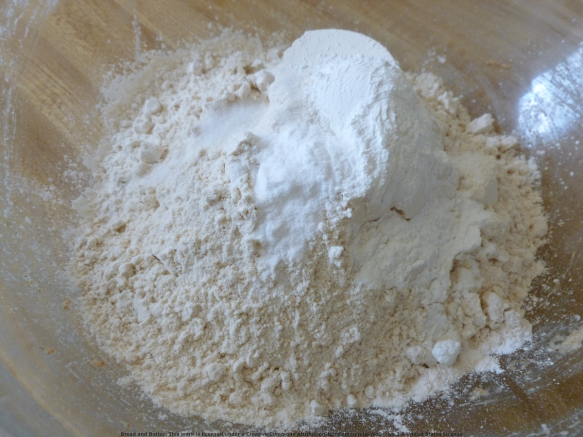
Sift dry ingredients in a bowl

In a medium or large mixing bowl, pour in the flour, baking powder, salt and baking soda.

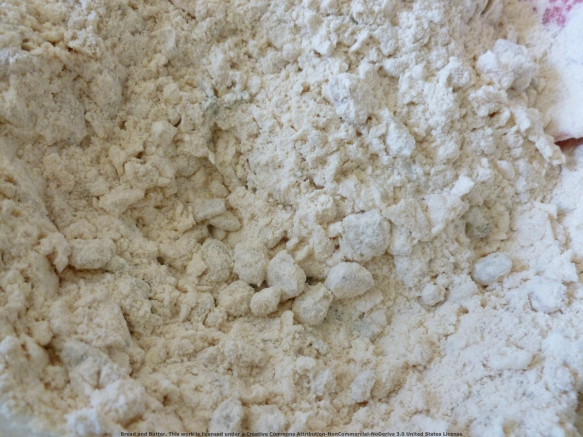
Whisk dry ingredientsStir together using a whisk or a fork.

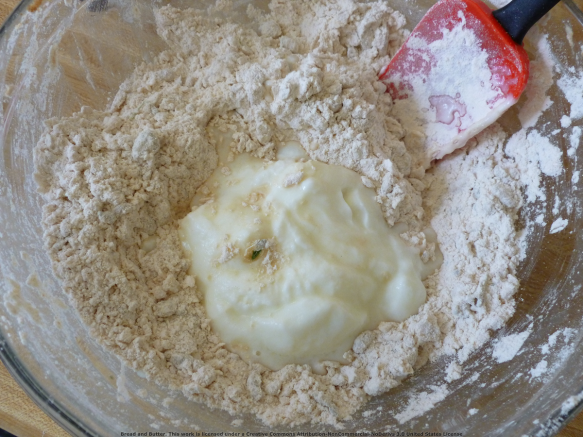
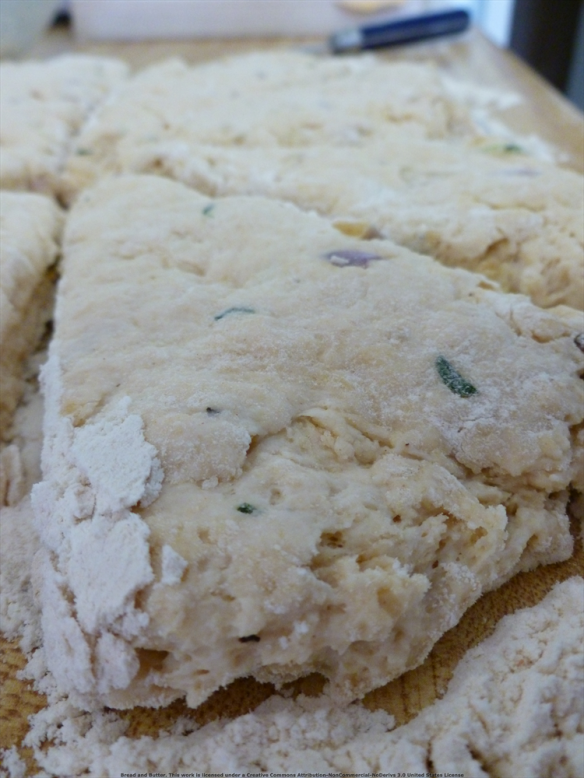
Flour Coated GoodnessAdd the 2 tablespoons of yogurt and the sauteed herb oil to the flour mixture. Mix well using a spatula. The garlic and onion pieces should be well coated with the flour mixture.

Add yogurtPour in 3/4 cup of the yogurt and mix until incorporated.If the mixture is too dry, add more yogurt by the spoonful until the dough just comes together.

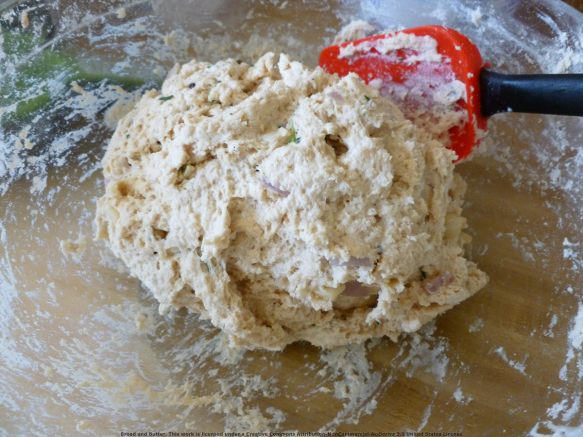
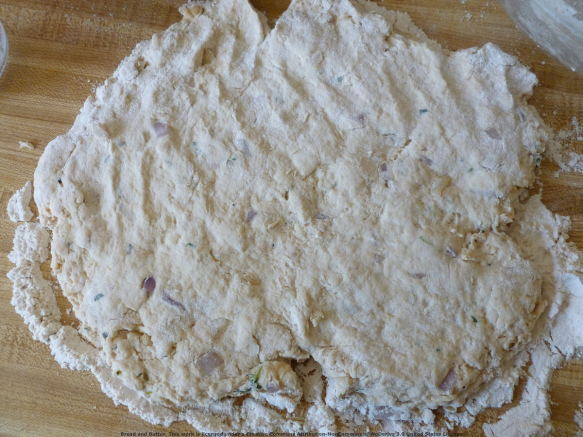
Sticky dough ballThe dough will be pliable and sticky.

A Circular ShapeFlour a workspace about the size of two dinner plates (or whatever you think you need) and smush the dough into a roughly circular shape (around 8 inches in diameter and 1/2 inch thick).

Dough WedgesUsing a butter knife (or other dull knife) coated in flour, cut the dough into equal wedges. The flour will keep the dough from sticking to the knife. You may need to recoat it a few times.

Wedges on a PanCarefully move the slices to the baking pan. Brush each with a generous amount of olive oil using a kitchen brush or spoon. If desired, sprinkle a pinch of flaked sea salt onto each scone.

Bake for approximately 20 minutes or until the tops are golden brown.

Golden Scones

Remove from the oven and serve hot!

Enjoy!

Adventures in Food, Episode 2: Stuff in My Pantry

All right folks, its time for another installment of Adventures in Food. This episode takes place in my pantry and features all the random stuff I’ve bought.

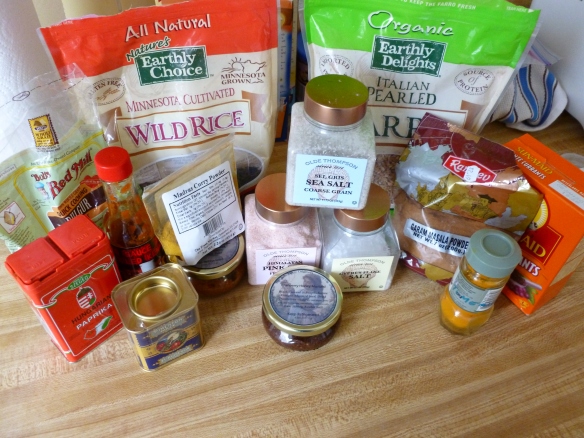
All the random stuff I've boughtHere’s the rundown of my recent impulse and adventure buys:

Trio of sea salts- Himalayan pink, grey, and cyprus flake. I searched for a while for this assortment of sea salts, and finally found one at a reasonable price at our local big box store. My favorite so far is the cyprus flake sea salt, but mostly because I haven’t decided how to use the other two.

Quick Cooking Bulgar, aka Barley– as featured in a previous post.

Paprika– a Hungarian paprika, a generic cheapo paprika (not pictured) and a jar that my mom got me that I haven’t opened yet. Why so much paprika? One word: Chickenpaprikash (ok that’s two words).

Minnesota Wild Rice (you have to say it “minn-ee-soooh-tah”- its more authentic that way) and Farro– Surprisingly, I found these both at a local big box store. I’ve also purchased Quinoa, but I’ve since used that up and moved on to other grains. The wild rice does have an earthy flavor, and kinda smells boggy when cooking it (what I imagine a bog to smell like since I’ve never actually been to a bog). I’ve used the Farro in quite a few recipes, trying to get a feel for it: Risotto, roasted cauliflower soup and just plain.

The Sauce That Killed Kenny– This is a hot sauce that a friend gave us. It sat on my shelf for a while until I started trying spicy foods. Now we add a drop or two to stir fry and sauces to give them a little kick.

Currants– I’ve had these for a while; unlike most of the stuff listed I actually had a recipe in mind when I bought the box… I think the recipe used like 1/4 cup of currants. I like to add them to salads with or instead of dried cranberries.

Curry Powder– Curry is my newest addition to my spice collection. I always thought that curry was too spicy for me, but since I started trying spicier foods I worked up the courage to buy it. Now its one of my most frequently used spices (I’ve been cooking a lot of Indian food lately).

Specialty Mustards– I discovered the jam, jelly and mustard lady at my local farmer’s market- she ensnared me with her free samples and cute little jars. I bought a sun-dried tomato and garlic mustard, and later a cranberry mustard that I was planning to serve at Thanksgiving with the turkey but it got lost in the shuffle.Very tasty but at $7 for a small jar, they’re a sometimes impulse buy for me.

Garam Masala & Tumeric– (the tumeric is the goldenrod yellow spice in the recycled container). These were my first ‘outside my comfort zone’ Indian spice purchases.

What random impulse food purchases have you made?

Spicy Tuna Melt with Jalapeños and Sharp Cheddar

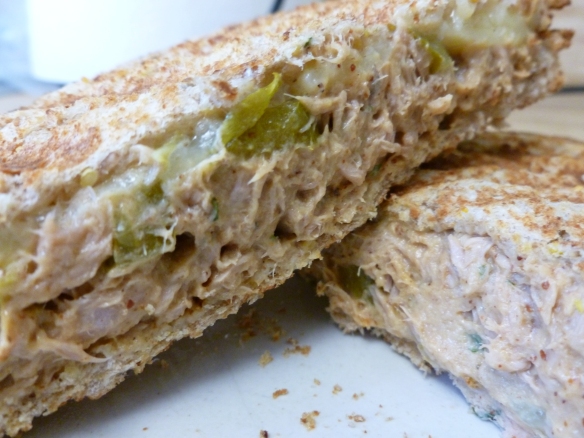
This is my go-to sandwich when I’m feeling too lazy to cook a full dinner but still want something satisfying. Melted cheddar, zippy jalapeños and tuna on crispy bread…. my mouth is watering just thinking about these sandwiches! This is a pretty versatile recipe- you can omit, substitute, increase or decrease your favorite ingredients based on your personal preferences (we never measure for this– just eyeball it- so all of the measurements below are approximations). This particular iteration is my bf’s latest creation.

Tasty Tuna Melt Goodness

Spicy Tuna Melt with Jalapeños and Sharp Cheddar

Time: 10 minutes
Servings: 2 sandwiches (or one humongous sandwich)

Ingredients

7 oz. can of tuna or chicken packed in water
2 heaping spoonfuls of light Miracle Whip (about 1/4 cup give or take)
1 heaping spoonful of coarse grain mustard (about 2 tablespoons)
1 Tbsp dried parsley flakes
2 tsp ground cumin
3 tsp dried onion flakes
1 tsp chili powder
1/2 tsp dried red pepper flakes
dash of hot sauce (bf used The Sauce That Killed Kenny)

1-2 ribs celery, finely diced (optional)
6-12 jalapeños (sliced, pickled)
2-3 generous slices of sharp white cheddar per sandwich
2 or 4 slices of your favorite bread (I use a whole grain bread)

Special Tools: Panini press/grill (optional)

What To Do

If you’re using a panini press that requires preheating, start that now so it’s nice and hot when you’ve assembled the sandwiches. If you don’t have a panini press, you can use a non-stick pan or pan sprayed with non-stick spray on medium-low heat.

Open the can of tuna and drain off the excess water. I usually rinse the can before opening, and use the lid to drain off the liquid after opening by pressing the lid against the meat.

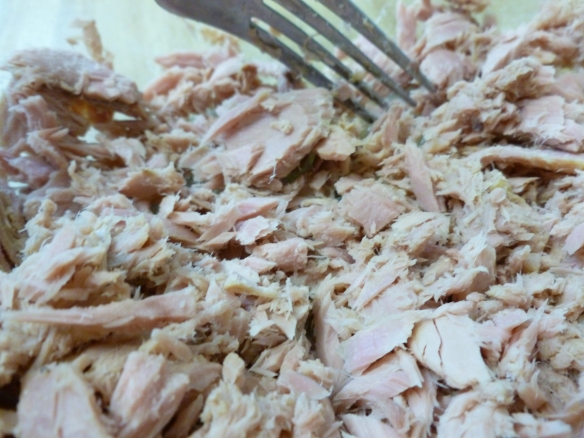
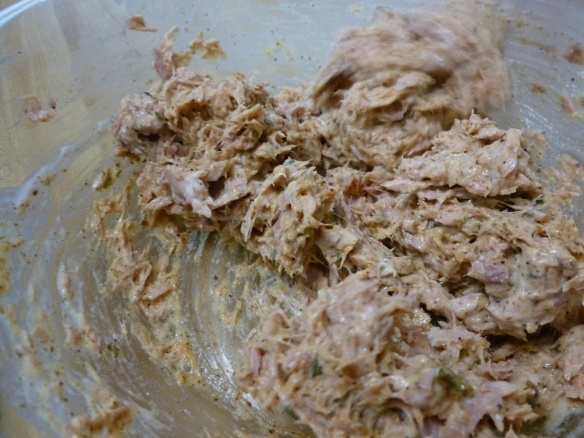
In a medium size bowl, separate the tuna chunks with a fork. Basically just smush the tuna until it looks like the picture below.

Separated Tuna Chunks

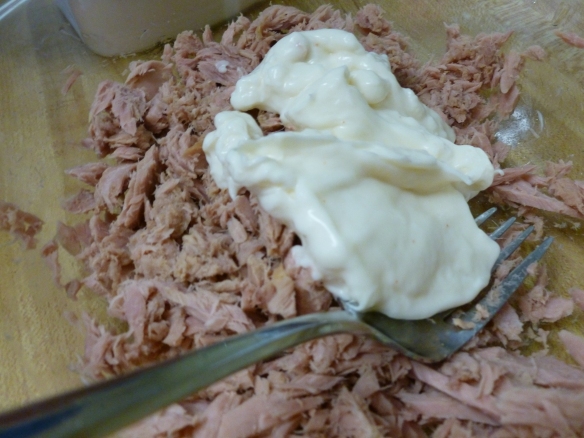
Next, add in the globs of Miracle Whip (or mayo). Don’t add too much at this stage- you can always add in more Miracle Whip or mustard if you feel that the tuna is too dry.

Tuna & Miracle Whip

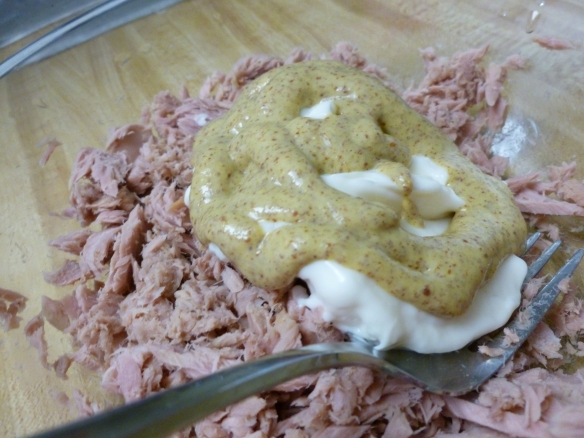
And the coarse grain mustard. You can spend a lot of money on fancy mustard, but we’ve found that a certain discount store’s house branded coarse grain mustard tastes just as good as some of the expensive mustards I’ve purchased.I also really like Trader Joe’s whole grain mustard.

Coarse Grain Mustard

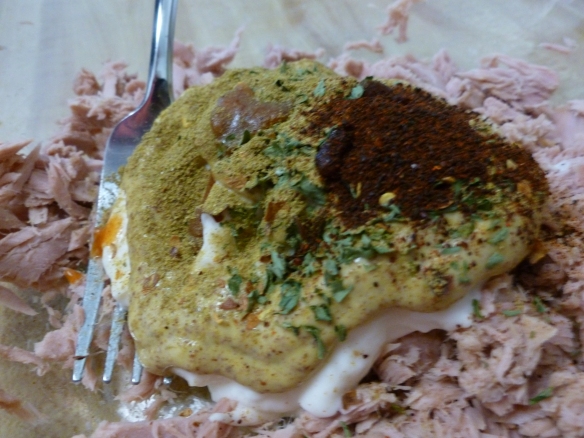
Sprinkle on the spices, dried onions, parsley and pepper. Add a dash of hot sauce if you dare!

Spices on Tuna

Carefully incorporate the Miracle Whip, mustard and spices into the tuna using a fork or spatula. The mixture should be just moist enough to hold everything together.

Mix it all together

If you’re using the celery, add it in now. Stir to distribute evenly throughout the mixture. We didn’t use celery this time, but it does add a nice crisp crunch to this sandwich. And the fiber content in the celery will help you keep feeling full after this meal.

If you’re making two sandwiches, divide the mixture evenly and spread onto the bread. You can also save half of the tuna mix for later (another tasty sandwich or add to a salad for a healthy lunch) or make one huge glorious sandwich if you’re feeling ravenous.
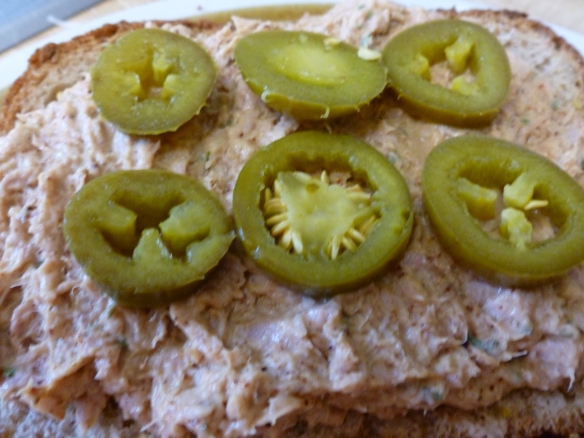
Arrange the sliced pickled jalapeños evenly on each sandwich.

Sliced Jalapeños on Tuna

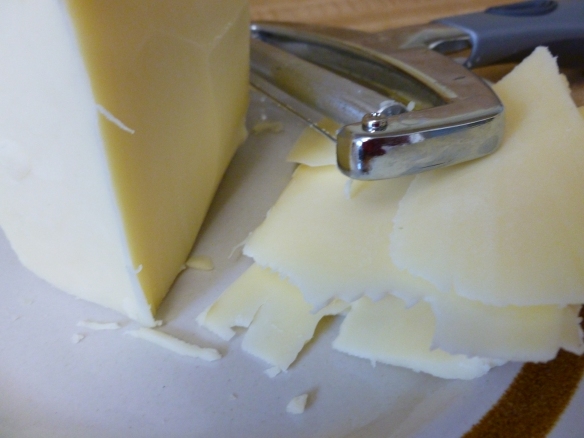
Slice the sharp white cheddar using a cheese cutter (for soft cheeses) or a knife.

Who cut it?

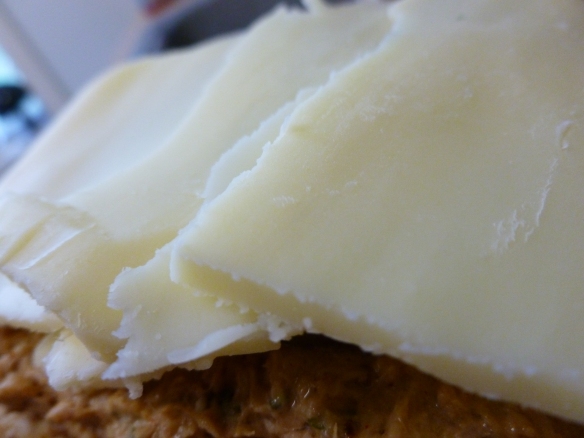
And distribute evenly across the sandwiches.

Cheese on Tuna SandwichPlace the second slice of bread on top and place onto the panini press with the tuna mixture on top (the slice of bread you just added should be on the bottom). I’ve found that this tends to decrease the likelihood that the sandwich will get soggy.

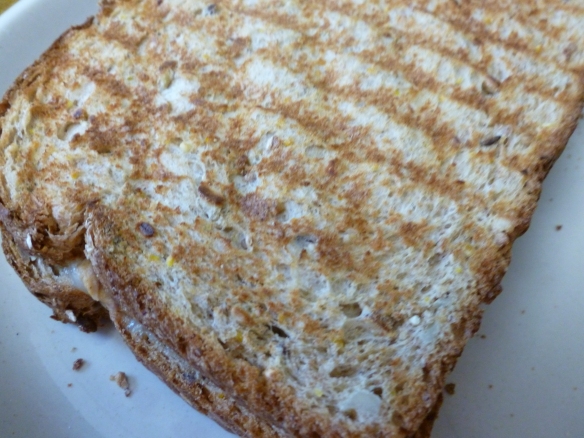
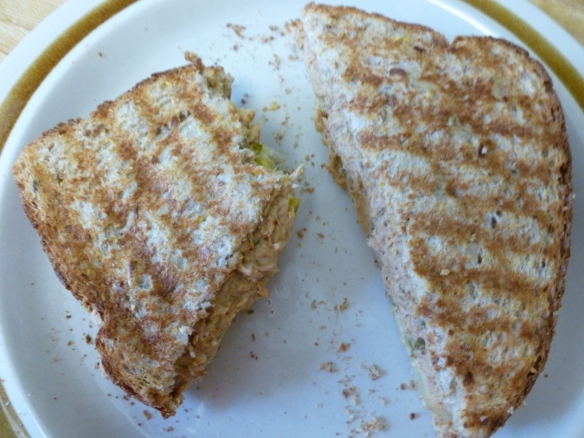
Grill for about 2-3 minutes, then flip over and grill for an additional 1-2 minutes until the cheese is melted. If you are talented enough to be able to flip the sandwich without making a mess, try positioning it at a 45 degree angle from the first grill marks– this will give the bread pretty crosshatched grill marks. I can occasionally do that.
Pretty Tuna Sandwich Grill Marks

Cut the sandwich into halves diagonally (it’s a scientific fact that sandwiches cut diagonally taste better and help you with geometry tests).

Nom Tuna Sandwich

Eat hot. Enjoy!

Awesome Naughty Tomatoes Kurkure Ad

Apparently, a number of readers have found my site by searching for Kurkure. I feel a little bad that I only have one post relating to that taste exploration, so I’ve decided to share this video my bf found with you.

I’m not sure that I get all of the subtle cultural references, but enjoyable nonetheless! Be sure to check out some of the other Kurkure commercials- like this one featuring a flaming Kurkure consumer or this one where the prodigal son returns to eat Kurkure on a horse.

Happy Friday, everyone!

What I’m Reading: Moosewood Restaurant New Classics: 350 Recipes for Homestyle Favorites and Everyday Feasts

My trips to the library make me feel like a kid in a candy store (Or more like: the little girl watching Disney’s Beauty and the Beast for the first time, awestruck at the huge library with floor to ceiling books and ladders on wheels– that is my dream library!!). Once I get started in one of my favorite sections (cooking, social history or crime novels), I tend to walk out of there with anywhere from 5 (if I’ve behaved) to 10 books or more. Luckily, libraries are free, if I remember to return or renew on time, and we have an awesome library system where I live.

Moosewood Restaurant New Classics is the second Moosewood book I’ve checked out, and it’s every bit as good as the previous one. Moosewood is a natural foods restaurant catering to vegetarians and vegans, and they put out a new cook book every few years. If you don’t eat vegetarian food on a regular basis, their food will blow your mind. Healthy– yes, but also creative, tasty and satisfying. And, carnivores can add meat to most dishes if they like.

My criteria for purchasing a cookbook are as follows: 

1. Is it available in the library? If yes, check it out! (This is pretty much my first step, I tend to avoid purchasing cookbooks in stores on impulse without researching first… I don’t have enough shelf space to do this anymore).

2. Are there at least ten recipes that I want to make? If yes, I mark those with sticky notes for future reference.

3. Did I make 3-5 of the recipes that I wanted to make, time permitting? Did I like how the food turned out?

4. If I answer yes to #2 and #3, then I look for the book on Amazon.com and either add it to my cart or my wishlist for a future purchase or gift.

If there’s only one or two recipes that I like, I’ll write those down on a notepad and return the book to the library.

So- here’s what I want to make in this book (that I haven’t already made):

Asparagus with Red Pepper Sauce
Bulghur with Caramelized Onions
Roasted Pepper & Onion Wrap
Green Olive & Artichoke Tapenade
Israeli Couscous & French Green Lentils
Orecchiette with Butter Beans
Middle Eastern Lentils and Pasta
Apple Onion Cheese Gratin
Caramelized Onion Tart
Pine Nut Pasta Cavalfiore
Presto! Chocolate Cake with Chocolate Raspberry Glaze (I’m making this for my roommate after Lent!)

Here’s what I’ve made so far:

Roasted Caramelized Balsamic Onions (Yes, this is every bit as good as it sounds, and no I didn’t take any pictures– we ate them all! One of the few recipes that I used butter for)
Baked Ziti with Roasted Peppers (Yum yum yum)
Pumpkin Cornmeal Biscuits (pretty alright; a nice change of pace from the usual biscuit)
Pumpkin Muffins (threw some chocolate chips in these– very tasty!)
Curried Lentil Dip (great served with veggies or even as a sauce for other dishes-like Khitcheree).

5 recipes made is pretty good for me, especially when I have four other cookbooks I’m reading simultaneously… though this one is definitely one of my favs.

All in all, a great book, with helpful information about food- types of beans, seaweed, etc. and ordering information for some of the more exotic or hard to find items interspersed throughout the text. I will be very sad when I have to return this book… I may just have to make it a permanent member of my collection.


Note: the author of this blog has no affiliation with Moosewood or the publisher, and received no compensation for this post.